There’s something timeless and comforting about a homemade pie. Whether it’s a warm apple pie fresh out of the oven or a chilled chocolate cream pie, making your own from scratch brings a level of satisfaction — and flavor — that store-bought simply can’t match.
In this guide, you’ll learn how to make a basic pie crust, explore different types of fillings, and get tips for baking pies that are golden, flaky, and delicious every time.
Why Bake Your Own Pie?
- Control ingredients and sweetness
- Customize crusts, shapes, and fillings
- No preservatives or artificial flavors
- Impressive for guests or special occasions
- It’s fun (and easier than you think!)
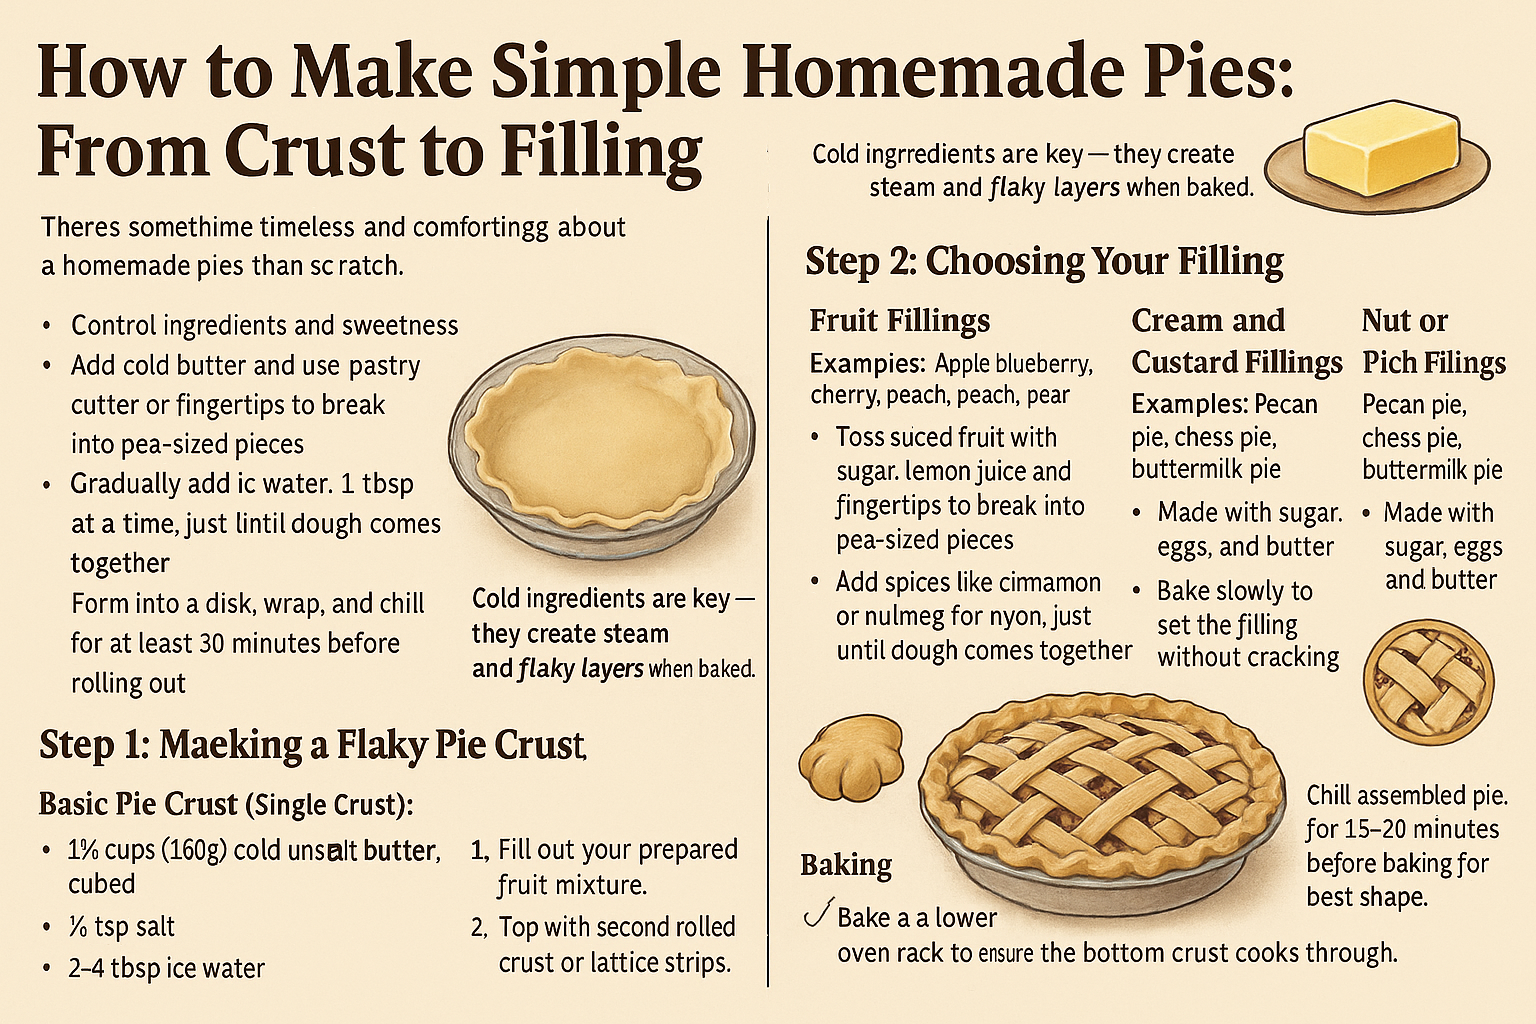
Step 1: Making a Flaky Pie Crust
The crust is the foundation of every great pie.
Basic Pie Crust (Single Crust):
Ingredients:
- 1¼ cups (160g) all-purpose flour
- ½ cup (115g) cold unsalted butter, cubed
- ¼ tsp salt
- 2–4 tbsp ice water
Instructions:
- In a bowl, mix flour and salt.
- Add cold butter and use a pastry cutter or fingertips to break into pea-sized pieces.
- Gradually add ice water, 1 tbsp at a time, just until dough comes together.
- Form into a disk, wrap, and chill for at least 30 minutes before rolling out.
🧈 Cold ingredients are key — they create steam and flaky layers when baked.
Optional: Sweet Pie Dough
Add 1–2 tbsp sugar to the dough for sweet pies like fruit or custard-based recipes.
Step 2: Choosing Your Filling
1. Fruit Fillings
Examples: Apple, blueberry, cherry, peach, pear
- Toss sliced fruit with sugar, lemon juice, and cornstarch or flour to thicken.
- Add spices like cinnamon or nutmeg for warmth.
- For juicy fruits, let them sit in sugar 10–15 min, then drain excess liquid.
2. Cream and Custard Fillings
Examples: Banana cream, coconut cream, chocolate, lemon curd
- Usually poured into a prebaked crust
- Thickened with egg yolks or cornstarch
- Must be chilled completely to set
3. Nut or Rich Fillings
Examples: Pecan pie, chess pie, buttermilk pie
- Made with sugar, eggs, and butter
- Bake slowly to set the filling without cracking
Step 3: Assembling and Baking Your Pie
For Double-Crust Pies (like apple or cherry):
- Roll out chilled dough and place in pie dish.
- Fill with your prepared fruit mixture.
- Top with second rolled crust or lattice strips.
- Crimp edges and cut steam vents.
- Brush with egg wash (1 egg + splash of milk) for golden color.
- Sprinkle with sugar for crunch.
🥧 Chill assembled pie for 15–20 minutes before baking for best shape.
Baking Tips:
- Bake on a lower oven rack to ensure the bottom crust cooks through.
- Use a pie shield or foil on the edges to prevent burning.
- Place a baking sheet underneath in case of bubbling over.
- Let fruit pies cool at least 2 hours for clean slices.
No-Bake Pies (Perfect for Summer!)
No-bake pies are easy and refreshing. Try:
- Chocolate mousse pie
- Peanut butter pie
- Lemon icebox pie
- Strawberry cream pie
Use a cookie crumb crust (crushed cookies + melted butter), fill with prepared filling, and chill until firm.
Easy Pie Decoration Ideas
- Lattice crust: Weave strips over fruit filling
- Cut-out shapes: Use cookie cutters on top crust
- Sugar dusting: Sprinkle coarse sugar before baking
- Whipped cream piping: For chilled or custard pies
- Toasted meringue: Spoon and torch for lemon or chocolate pies
Make-Ahead and Storage Tips
- Pie crust can be made and refrigerated for 2 days or frozen for 2 months
- Baked fruit pies: Store at room temp for 1 day or refrigerate up to 4
- Custard or cream pies: Always refrigerate, eat within 3–4 days
- Reheat slices in the oven (not microwave) to crisp up the crust
Final Thought: Homemade Pie Is Always Worth It
Making a pie from scratch may seem intimidating, but once you master a simple crust and a go-to filling, the possibilities are endless. Whether it’s a rustic fruit galette or a beautifully latticed pie for a special dinner, baking pies brings warmth — to the oven and to the table.
So roll out that dough, pick your filling, and get baking. There’s nothing quite like the pride of slicing into your very own homemade pie.