Charcuterie boards are no longer just about meats and cheeses — now it’s all about dessert boards! These beautiful, build-your-own sweet platters are perfect for parties, holidays, romantic dates, or cozy movie nights.
In this article, you’ll learn how to create eye-catching and delicious dessert boards, with tips on choosing ingredients, arranging items, and creating themes that impress.
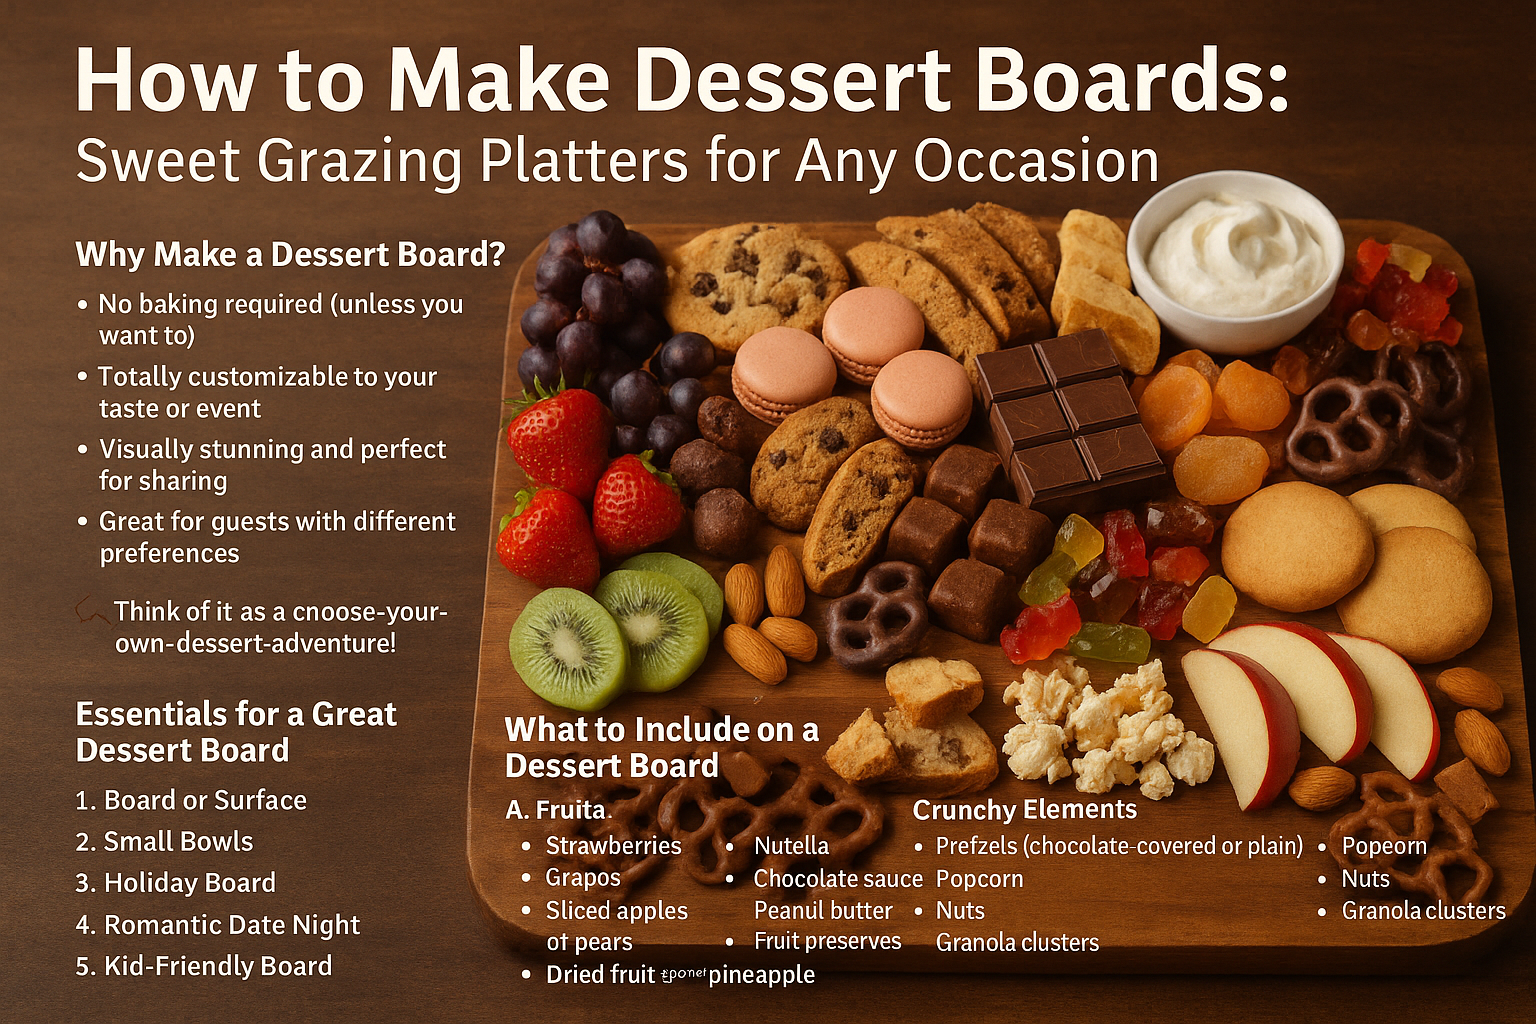
Why Make a Dessert Board?
- No baking required (unless you want to)
- Totally customizable to your taste or event
- Visually stunning and perfect for sharing
- Great for guests with different preferences
- Easy to prep ahead and assemble quickly
🍫 Think of it as a choose-your-own-dessert adventure!
Essentials for a Great Dessert Board
1. Board or Surface
Use:
- Wooden cutting board
- Serving tray
- Slate board
- Baking sheet lined with parchment
- Large plate or platter
2. Small Bowls
Great for holding:
- Dips or sauces
- Small candies
- Nuts
- Whipped cream or spreads
What to Include on a Dessert Board
Aim for variety in texture, flavor, and color:
A. Fruits
- Strawberries
- Grapes
- Sliced apples or pears
- Kiwi, mango, or pineapple
- Dried fruit (apricots, dates, cranberries)
B. Cookies & Bites
- Mini cookies
- Biscotti
- Macarons
- Chocolate-dipped treats
- Cookie sticks or wafers
C. Chocolate & Candy
- Chocolate bars (broken into pieces)
- Truffles
- Caramel squares
- Marshmallows
- Gummy candies
D. Dips & Spreads
- Nutella
- Chocolate sauce
- Peanut butter
- Fruit preserves
- Whipped cream
E. Cakes or Brownies
- Cut into small squares or circles
- Use mini cupcakes or cake pops
- Add a few frosted bites for flair
F. Crunchy Elements
- Pretzels (chocolate-covered or plain)
- Popcorn
- Nuts
- Granola clusters
How to Assemble Your Dessert Board
- Start with bowls – place them off-center for a natural look.
- Build around the bowls – use cookies and fruits to create structure.
- Layer and group by type – arrange items in small clusters, not scattered.
- Balance colors – spread colorful items evenly across the board.
- Add height – stack or lean items for depth and dimension.
- Finish with garnish – fresh mint, edible flowers, or powdered sugar.
🎨 Think of it as painting with food — let your creativity flow!
Fun Theme Ideas
1. Chocolate Lovers
- Chocolate bars, truffles, mousse, brownies, Nutella, cocoa dusted almonds
2. Fruits & Dip
- Fresh fruits, honey yogurt dip, dark chocolate sauce, marshmallows
3. Holiday Board
- Peppermint bark, gingerbread cookies, cranberry clusters, spiced nuts
4. Romantic Date Night
- Strawberries, fondue, rose-shaped chocolates, macarons, champagne gummies
5. Kid-Friendly Board
- Gummy bears, animal crackers, mini cupcakes, popcorn, chocolate chips
Pro Tips for Success
- Use room-temperature items for best flavor
- Pre-cut everything bite-sized for easy grazing
- Add seasonal elements: pumpkin bites in fall, berries in summer
- Make ahead and chill items separately — assemble just before serving
- Include napkins, tongs, or mini forks for easy sharing
Ideas for Small Dessert Boards
Even a mini board can feel luxurious! Try:
- 2 fruits + 2 sweets + 1 dip
- A few cookies, some berries, and melted chocolate
- Banana slices, peanut butter, and dark chocolate squares
Great for a solo treat or intimate moment.
Final Thought: Create, Share, Enjoy
Dessert boards are more than just food — they’re an experience. They invite people to explore flavors, discover combinations, and connect over something sweet.
So the next time you host or crave something special, skip the formal dessert — build a board that brings joy, variety, and a little indulgence to the table.